





Drawing feet realistically in hand - drawn figure drawings is a challenging yet essential skill for any artist. As a hand - drawn figure drawings supplier, I understand the importance of accuracy and detail in creating lifelike works. In this blog, I'll share some tips and techniques to help you master the art of drawing feet.
Understanding the Anatomy of the Foot
Before you start drawing, it's crucial to have a solid understanding of the foot's anatomy. The foot is a complex structure composed of bones, muscles, tendons, and ligaments. There are 26 bones in the foot, which can be grouped into three main parts: the hindfoot, the midfoot, and the forefoot.
The hindfoot consists of the talus and the calcaneus. The talus connects the foot to the leg, while the calcaneus is the heel bone. The midfoot is made up of five tarsal bones, which form the arch of the foot. The forefoot includes the metatarsals and the phalanges. The metatarsals are the long bones that connect the midfoot to the toes, and the phalanges are the bones of the toes.
Studying the anatomy of the foot will help you understand how the foot moves and how it should look from different angles. You can find many anatomical references online or in anatomy books. For example, "Gray's Anatomy" is a classic reference book that provides detailed illustrations of the human body, including the feet.
Observing Real Feet
One of the best ways to learn how to draw feet realistically is to observe real feet. You can study your own feet or the feet of others. Pay attention to the shape, proportion, and details of the feet. Notice how the toes curve, how the skin folds around the joints, and how the tendons and muscles bulge when the foot is in different positions.
When observing feet, try to draw them from different angles, such as the front, the side, and the top. This will help you understand the three - dimensional structure of the foot. You can also observe feet in motion, like when a person is walking, running, or standing on their tiptoes. This will give you a better sense of how the foot changes shape and position depending on the movement.
Starting with Basic Shapes
When you're ready to start drawing, begin with basic shapes. Draw a simplified outline of the foot using geometric shapes such as rectangles, ovals, and triangles. The heel can be represented by an oval, the arch by a curve, and the toes by a series of triangles.
For instance, start by drawing a rectangle for the main body of the foot. Then, add an oval at the back for the heel. Sketch the general shape of the arch as a smooth curve. Next, draw the triangles for the toes, making sure to align them correctly with the metatarsals. This basic shape approach will give you a framework for building the more detailed features of the foot.
Adding Details
Once you have the basic shape of the foot, you can start adding details. Pay attention to the wrinkles, creases, and calluses on the skin. These details will make your drawing look more realistic. The tendons and muscles on the top of the foot are also important details. You can draw them as thin, curving lines that follow the natural shape of the foot.
The toenails are another important detail. Draw them as oval - shaped objects with a smooth curve at the top. Make sure to add a slight shadow under the toenails to give them a three - dimensional look.
The soles of the feet have their own unique features. The arch on the sole creates a natural curve, and there are often thicker areas of skin at the ball of the foot and the heel. You can use shading to show the different textures and shapes on the sole.

Shading and Lighting
Shading is crucial for creating a realistic drawing. It helps to give the foot volume and dimension. Observe the direction of the light source in your drawing. The areas that are directly facing the light will be lighter, while the areas in shadow will be darker.
Start by shading the entire foot with a light layer of graphite or the color of your choice. Then, gradually add darker shades to the areas that are in shadow. Use a blending tool, such as a blending stump or a tissue, to smooth out the shading and create a realistic gradient.
For example, if the light is coming from the top left, the top of the foot and the toes will be lighter, while the underside and the areas between the toes will be darker. You can also add highlights to the areas that are catching the most light, such as the tips of the toes or the bony protrusions.
Practicing Different Poses
To become proficient at drawing feet, it's important to practice drawing them in different poses. Feet can be found in a wide variety of positions, from standing flat on the ground to pointing or flexing. Each pose will require a different approach to drawing.
When drawing a foot that is pointing, the arch will be more pronounced, and the tendons on the top of the foot will be more visible. When the foot is flexed, the toes will curl, and the sole of the foot will curve more. Practice drawing these different poses to improve your understanding of how the foot changes shape.
Learning from Other Artists
As a hand - drawn figure drawings supplier, I've seen many talented artists' works. You can learn a lot by studying the works of other artists who are skilled at drawing feet. Look for artists who have a realistic style and who pay attention to detail.
Online platforms like Instagram and Behance are great places to find artists' portfolios. You can also visit art galleries and museums to see high - quality artworks up close. Analyze how other artists approach drawing feet, their use of shading, and the way they capture the nuances of the foot's structure.
Our Hand - Drawn Figure Drawings
At our company, we offer a wide range of hand - drawn figure drawings, including works that feature detailed feet. Our artists are highly skilled and have a deep understanding of human anatomy. We take pride in creating realistic and high - quality artworks that can adorn your walls or be used as a part of your collection.
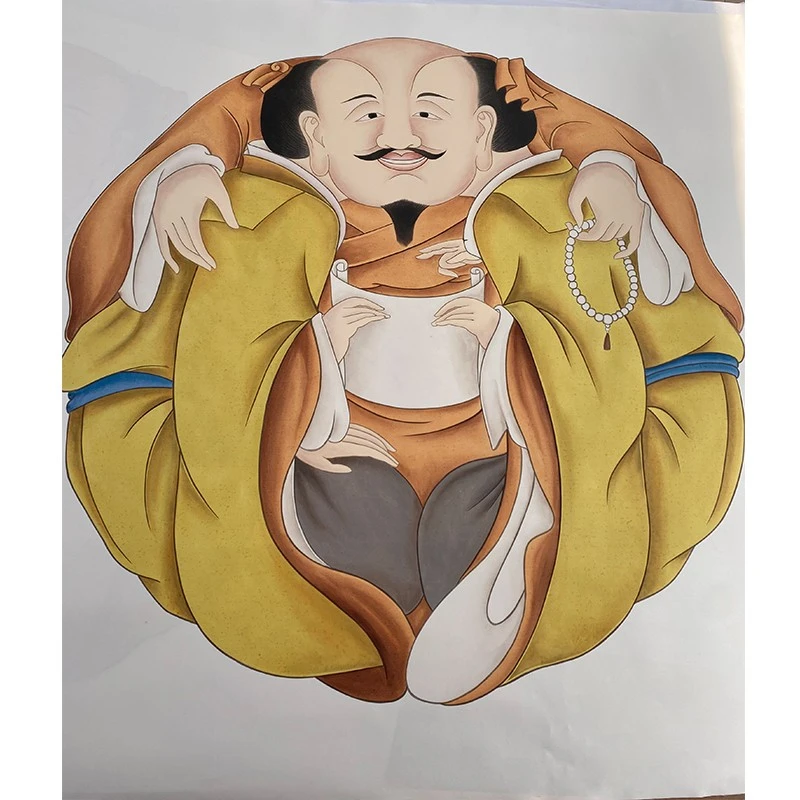
You can explore our Hand Painted Figure Art, which showcases the beauty of hand - drawn figures. Our Tibetan Buddha Painting and Handmade Buddha Painting often feature detailed depictions of the Buddha's feet, which are symbols of enlightenment and peace. Our Buddhist Wall Art and Lotus Buddha Painting are also outstanding examples of our artistic skills.
If you're interested in purchasing our hand - drawn figure drawings, or if you have any questions about our products or the art of drawing feet, we encourage you to contact us. We're more than happy to have a discussion with you about your needs and offer you the best solutions for your art collection.
Conclusion
Drawing feet realistically is a challenging but rewarding skill. By understanding the anatomy, observing real feet, starting with basic shapes, adding details, using proper shading, practicing different poses, and learning from other artists, you can improve your ability to draw feet in hand - drawn figure drawings. As a hand - drawn figure drawings supplier, we're committed to providing you with high - quality artworks that showcase the beauty and complexity of the human form.
References
- "Gray's Anatomy," Henry Gray, 1918.
- Various art books and online resources on human anatomy and figure drawing.